Set Up Wavlink WiFi Extender: A Beginners Guide
If you think that your existing router is not giving adequate WiFi signals, then you should set up Wavlink WiFi extender. Wavlink WiFi range extender is one of the best WiFi devices that offer its users seamless internet connectivity all over the house. However, buying the extender is not only enough. You have to configure it.
Wondering how to perform Wavlink extender setup process? Wonder no more! Over here, we have provided step-by-step instructions following which Wavlink extender setup as enjoying with kids in Water Park for you. Let’s start!
Instructions to Setup Wavlink Extender
Step 1: Unbox Wavlink WiFi Extender
Let’s begin with the Wavlink WiFi extender setup process by unboxing it. Please be very careful while unboxing your device. If you damage any of its contents or the range extender itself, you might get Wavlink extender setup failed error.
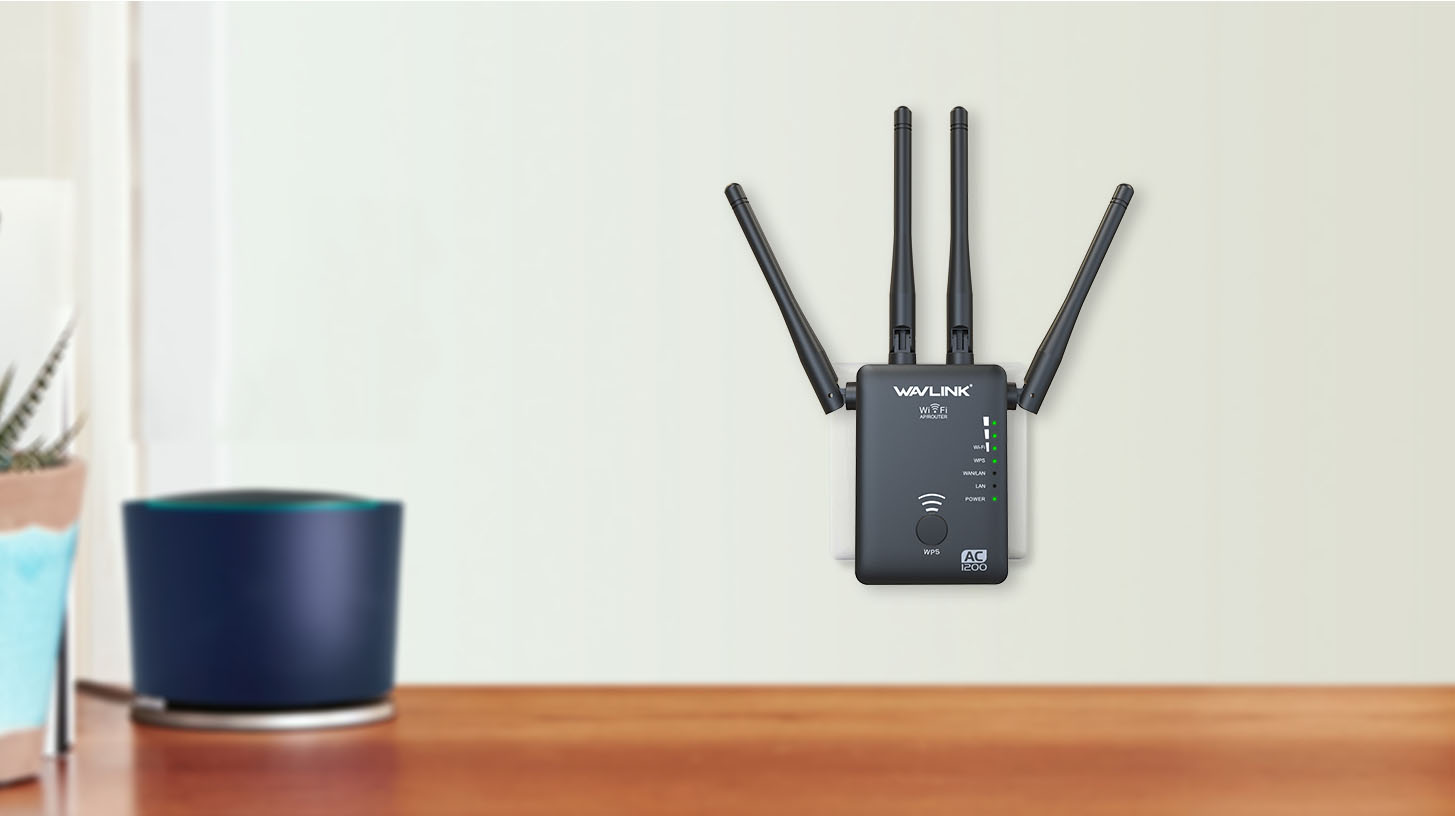
Step 2: Select Best Spot for Wavlink Extender
To get uninterrupted WiFi signals all over your house, you must place your Wavlink WiFi extender at the center-most area in your home, away from doors, windows, cabinets, and lower surface. But, your extender must be placed within range of your existing router. Got it?
Bonus Tip: Relocate your host router as well. Place it on a higher, open, and ventilated area so that your Wavlink can receive uninterrupted and continuous WiFi signals from it.
Fix 3: Connect Wavlink Extender and Router
Now, you need to grab an Ethernet cable and use it for connecting your Wavlink extender and router, How to do that? Connect one end of the Ethernet cable into your Wavlink extender and other end to your host router. If you don’t have the cable handy, then you can also make use of a wireless source.
Pro Tip: Do not place your Wavlink extender and router too closer. Your wifi signals may clash by doing this.
Fix 4: Open a PC or Laptop
After making a secure and finger-tight between your Wavlink extender and router, you have to power up a computer or laptop. Ensure that your device is accessing the Wavlink extender’s WiFi.
Note: Update the software of your WiFi device (PC or laptop) prior to making it in use.
Fix 5: Launch an Internet Browser
After turning on your PC or laptop, you must have access to an up-to-date web browser. Once you are done, navigate to the browser’s address bar and type http://wifi.wavlink.com or http://192.168.10.1. Make sure to input the extender’s web or the IP address correctly. Otherwise, you might encounter with Wavlink extender setup issues.
Moreover, do not use the browser’s private window set up Wavlink WiFi extender. And, most important! Do not enter http://wifi.wavlink.com or http://192.168.10.1 in the search bar.
Fix 6: Do Wavlink Extender Login
Now, it’s time to do Wavlink extender login. For this, you have to ensure that you have the correct Wavlink login details handy. If so, input them correctly into the required fields and click Login.
Fix 7: Follow the On-Screen Prompts
You are now taken to Wavlink setup page. Reaching here, you have to follow the on-screen prompts and set up Wavlink WiFi extender with ease.
After setting up your Wavlink WiFi extender, you can unplug it and place it anywhere in your home. But, the location you choose for your Wavlink device must be in reach of your host router.
The Final Words
We hope that the step-by-step instructions we have provided you in this post helped you out in an effective way to set up Wavlink WiFi extender. If your answer is a big yes, then you are all set to enjoy uninterrupted internet range in every nook and cranny of your house.